Easy Ways to Install Wood Slats for Interior Walls
Installing wood slats for interior walls is one of the most effective ways to elevate your home’s style with warmth, texture, and sophistication. While the finished result looks professionally designed, the installation process can actually be simple and rewarding. Whether you’re a DIY enthusiast or working with a contractor, understanding how to properly install Wood slats for interior walls ensures you achieve a flawless finish that will last for years.
Why Choose Wood Slats for Your Interior Walls
Aesthetic and Functional Benefits
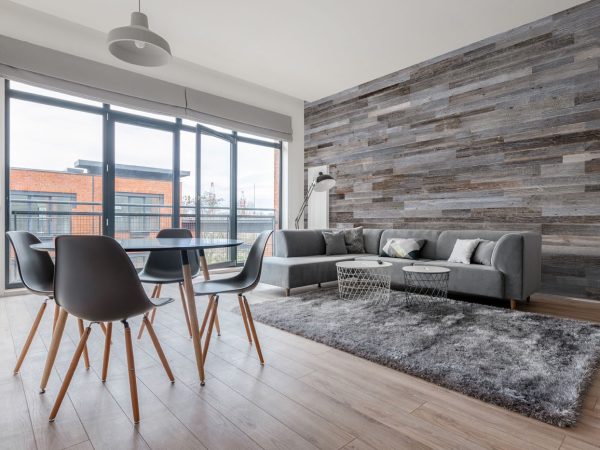
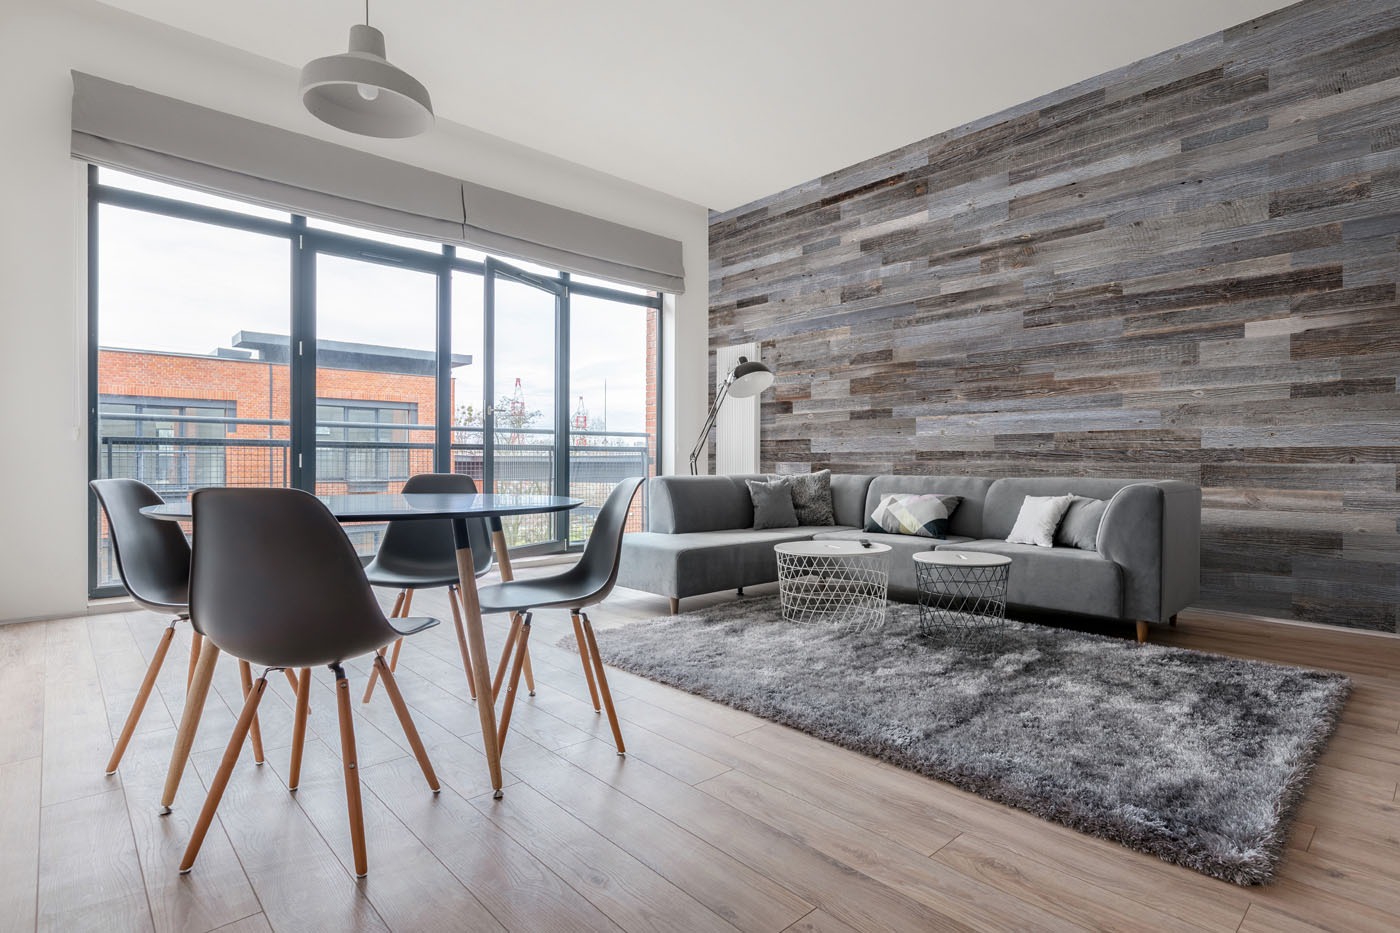
Wood slats for interior walls are not only visually appealing but also highly functional. They improve acoustics, add texture, and make any space feel more inviting. The sleek vertical or horizontal lines of the slats can also make rooms appear taller or wider, depending on your chosen layout. Their versatility allows them to fit seamlessly into any design style—from contemporary to rustic.
Ease of Customization
With wood slats for interior walls, you can easily personalize your project. Choose your preferred type of wood, finish, spacing, and direction to match your interior theme. Whether you want light tones for a Scandinavian feel or darker hues for a bold, modern statement, wood slats allow for endless creative possibilities.
Tools and Materials You’ll Need
Before starting, gather these essential tools and materials to make installation smoother:
- Pre-cut wood slats for interior walls (or panels)
- Level and measuring tape
- Saw (if trimming is needed)
- Construction adhesive or brad nails
- Stud finder
- Drill or nail gun
- Sandpaper and finishing supplies
Having everything ready ensures a seamless installation process from start to finish.
Step-by-Step Guide to Installing Wood Slats
Step 1: Prepare the Surface
Begin by cleaning and smoothing the wall surface. Remove dust, debris, or old paint flakes to ensure strong adhesion. If your wall has imperfections, lightly sand it and apply a primer if necessary. The key to a lasting finish is starting with a clean and even base for your wood slats for interior walls.
Step 2: Measure and Mark
Use a measuring tape and level to mark your layout. Decide whether you want vertical or horizontal placement. Carefully measure the distance between each slat for consistent spacing. Proper alignment is essential for achieving the modern, polished look wood slats for interior walls are known for.
Step 3: Find and Mark Studs
Using a stud finder, mark the studs behind your wall. These will serve as anchor points if you’re using nails or screws. Proper anchoring ensures your wood slats for interior walls stay secure, especially in high-traffic or heavy-use areas.
Step 4: Cut and Prepare the Slats
If your wood slats for interior walls are not pre-cut, trim them to fit your wall height or width. Sand the edges for a smooth, professional finish. Pre-finished slats can save you time, but if you’re staining or sealing them yourself, apply your chosen finish before installation.
Step 5: Attach the Slats
There are two main methods for attaching wood slats for interior walls:
- Adhesive method: Apply construction adhesive to the back of each slat and press it firmly onto the wall.
- Nail or screw method: Use brad nails or screws to secure the slats into the studs.
For the best results, start from one edge of the wall and work your way across, ensuring each slat is level before securing the next one. Maintain consistent spacing throughout.
Step 6: Fill Gaps and Add Finishing Touches
Once all wood slats for interior walls are installed, check for any gaps or uneven areas. Use caulk or wood filler to seal minor imperfections. Wipe away any excess adhesive and give your wall a quick polish to bring out the wood’s natural beauty.
Additional Design Tips
Play with Lighting
Lighting can dramatically enhance the appearance of wood slats for interior walls. Install LED strips between the slats or use overhead lighting to highlight the natural texture and shadows. This creates an ambient, high-end feel in any room.
Combine Materials for Contrast
For a modern look, combine wood slats for interior walls with materials like concrete, glass, or metal. This contrast creates visual balance—perfect for contemporary spaces. You can also use slats to frame mirrors, TVs, or artwork for a sleek, custom appearance.
Extend Beyond Walls
Don’t limit yourself to vertical surfaces. Extend your wood slats for interior walls onto ceilings or furniture accents for a seamless design that ties the entire room together. This technique is especially effective in open-plan homes where continuity enhances the overall aesthetic.
Maintenance Made Simple
Keeping your wood slats for interior walls looking fresh is easy. Dust them regularly with a microfiber cloth, and occasionally wipe them down with a damp (not wet) cloth to remove dirt. For extra shine, use a gentle wood polish. With minimal care, your slatted walls will maintain their beauty for many years.
Why Choose SlatSolution
At SlatSolution, we make installation effortless by offering high-quality wood slats for interior walls that come pre-finished and ready to mount. Our precision-cut slats ensure uniform spacing and a professional look every time. Whether you’re working on a single feature wall or an entire room renovation, our products help you achieve superior results quickly and easily.
Conclusion
Installing wood slats for interior walls is a simple yet transformative way to redefine your interior space. With a few tools, careful preparation, and quality materials, you can achieve a sleek, modern look that adds warmth, depth, and texture to your home. The process is straightforward, the results are stunning, and the impact is lasting. Choose wood slats for interior walls from SlatSolution to turn any plain wall into a masterpiece of modern design and timeless elegance.